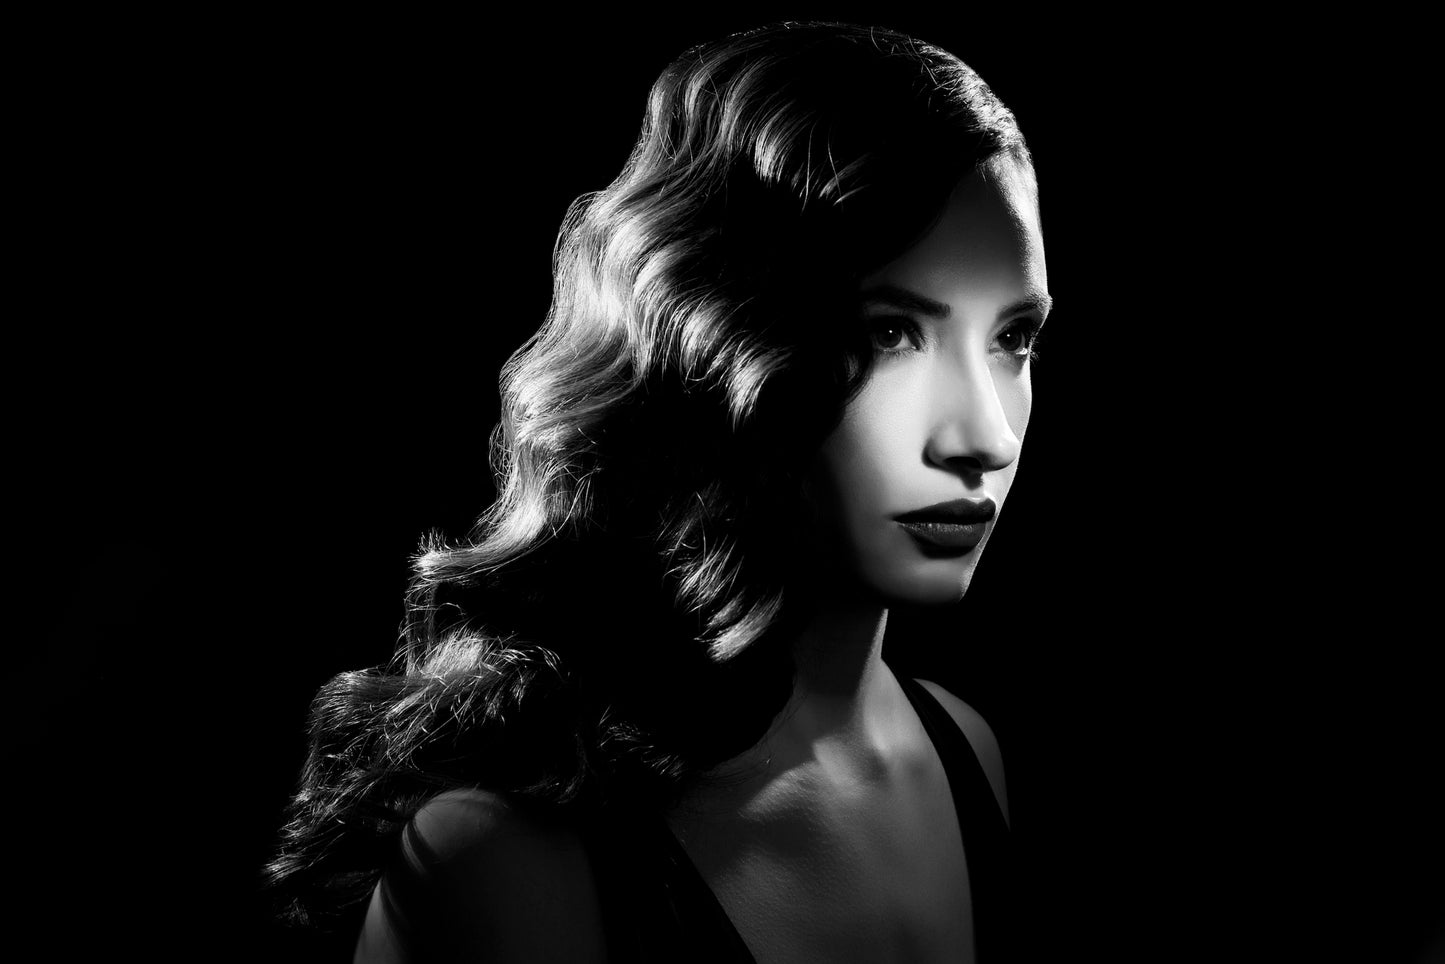
That striking film noir look is possible with speedlights! Three speedlights allow you to shape and control the light to give you stunning drama as seen in this example.
First, I want to have very tight and dramatic light on the face. I put my subject in their optimal pose and then used the Rogue Grids (both stacked for 16º spot) to create very focused light on the face.

I used my depth of field preview button on my camera to have my speedlight pulse light and create a modeling light to position the speedlight. 
Once I had my dramatic main light in place, I added my two back rim lights. I placed these bare speedlights (no modifiers) approximately at a back 30-45 degree angle to the subject. One rim light (right) would help give definition to the subject’s face and neck. The other (left) would help illuminate and give definition the the hair. 
Lastly, this look is best when shot in black and white. This can be achieve by shooting ‘monochromatic’ in camera, but really perfected by playing with high contrast black and white conversions in post-processing (Lightroom, Photoshop, etc).
Final Image:


Hi Mindy,
Thank you for your questions.
To answer your first question, manipulating manual camera settings and strategic positioning of flashes can prevent them from spilling on the camera and the subject’s face. This may take a little bit of experimentation, but these videos are designed to show you that you can also create similar images using small speedlights.
To answer your second question, there are several ways to avoid glare or flare in images. Using a lens hood can prevent unwanted light from entering your lens from an angle. Alternatively, strategically composing the shot can prevent from glare or flare also ruining an image.
If you have any other questions feel free to contact us.
This is so lovely.
A few questions:
- how did you keep light from spilling onto the background and face from the bare strobes?
- how did you avoid glare from the bare strobes – it looks like they are pointed toward the camera?
Thanks for sharing this!