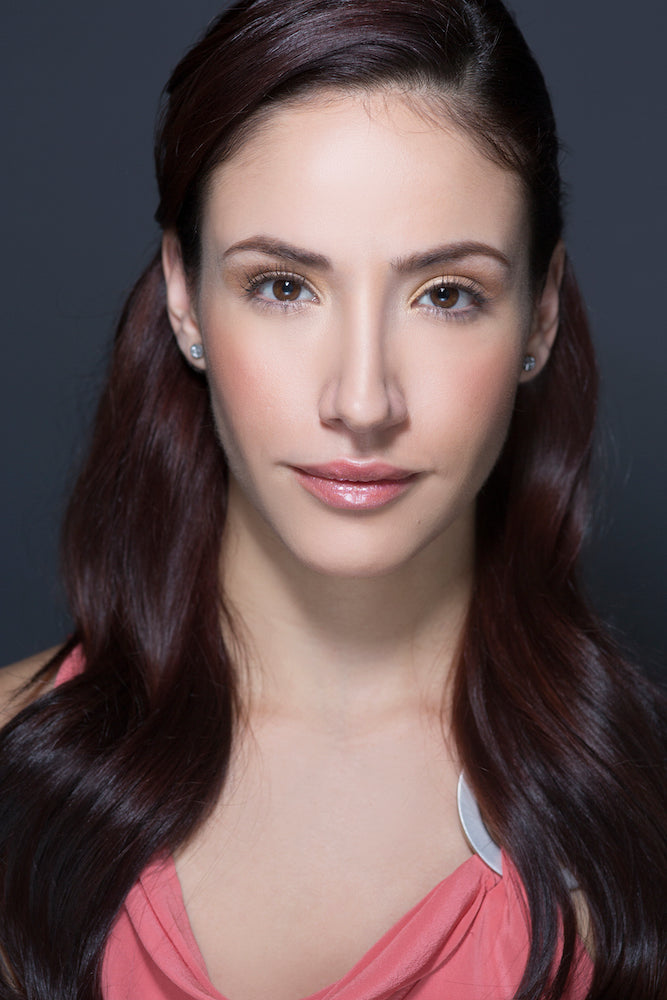
Even when using a single speedlight, you have a lot of control over the look and feel of a portrait. You can make an image that is dark, high contrast and dramatic. Or you can make an image that is soft and glowing.
There are several things you can use to change the light and mood of the image. You can change the size of the modifier on the speedlight, you can change the distance of the light, you can change the height of the light and also the distance of the light to the left/right of the subject. All of these things change the look and feel of your portrait.
In this video I demonstrate how I can use one modifier and light placement to create a more dramatic image, and then in just a few changes can create soft beauty light.
I begin with a Flashbender2 small on my speedlight, and place the light to the left of the subject and also raise the light up. This helps create shadows on the subjects face. The small light source gives me more contrasty light. The smaller the light source is relative to the subject, the harsher that light it. I also aim the modifier and bend it slightly downwards so as to avoid any unwanted bounce of the ceiling. I could certainly go with this look, but instead I decide that perhaps I prefer beauty lighting.

I switch out the modifier on the speedlight to a Flashbender2 Large. To create beauty light I decide to reduce shadows and have softer light. The larger light source of the Flashbender2 Large gives me softer light on the subject, and moving the light more central to the subject’s face helps me to reduce shadows. I also bring the light source closer to the subject, helping to make the light even softer (the larger the light source is relative to the subject, the softer the light).

The light looks great, but I need a little but more sparkle to her eyes and I want to reduce the shadows beneath her chin. We add a reflector beneath her chin, and I also make sure that the Flashbender2 Large and speedlight are angled slightly downward. This allows some light to reach the reflector and bounce back into her face. This gives me what’s called clam shell lighting, with the sparkle of two catchlight in the subject’s eyes.
Final Image:

Camera Settings: 85mm Lens, ISO 400, 1/125, f/5

Good overview of how to fnilaly master the Nikon Creative Lighting System. Only knock on this is that spends a fair amount of time on the SB900 capabilities so for those of us who aren’t spending that kind of dough and have the SB600 several of the menu elements don’t come into play. Also uses several physical setups that are beyond what an amateur photographer would normally have.